


This week's blog post was written by Kyle, my lovely assistant and fellow Real Life Style stylist.
I have an addiction to nail polish. It's not anything I try to hide or deny. When friends ask me how long I spent on my manicure this week, I simply reply "Too long. I know, it's a problem."
I've been collecting nail polish since high school, when my favorite polish color was still pink (I remember being particularly infatuated with Charged Up Cherry). I refused to step out of my comfort zone. That eventually changed! I had to buy my first nail polish rack last year when my Hello Kitty plastic manicure I've had since I was in elementary school started overflowing. There are about 60 nail polishes in the picture below, taken last year.

This is what that same rack looks like now, exactly one year later. It is completely full and I now own about 120 nail polishes. My collection doubled in one year.

No need to worry though, all of these colors get great use. I use at least 3 or 4 colors each time I paint my nails. My everyday nails look something like this.


And this is how I have come to be known as the Real Life Style Nail Guru! For more of my nail pics, check out the hashtag #rlsnailguru on Instagram. Lani consults me with all her nail questions, such as which top coat will help her nails last the longest (I recommend Seche Vite!) or which nail polish remover will keep her apartment from smelling like chemicals (have you tried Karma Organic Spa's?)
We even did our toes together last week!
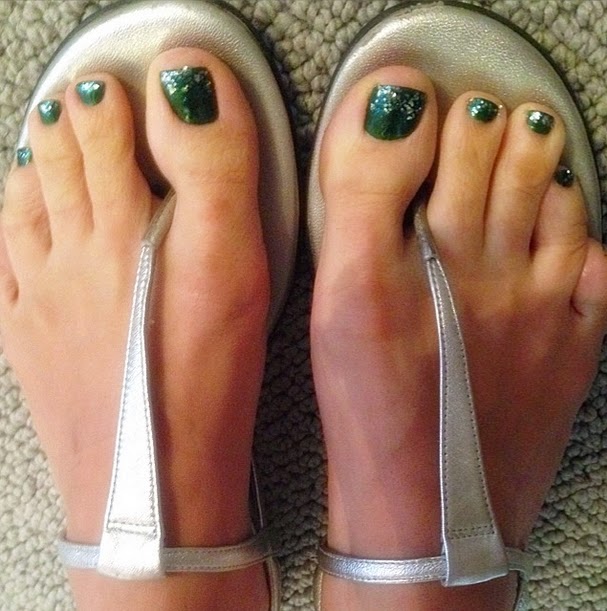
Get Lani's Glitter Gradient Look:
1. Start with a gorgeous deep green. We recommend Julep's Valerie, a shimmery teal.
2. Once your base is dry, layer glitter polishes over the polish. Start at the top edge of the nail and work your way down, painting a little bit lower each time. Leave the most glitter at the top and only a few pieces towards the middle. For those looking for the perfect silver glitter to create this look, Julep's Joelle layers beautifully!
3. Finish with a top coat. When you're ready to take your glitter off, don't spend hours tearing up your nails! Check out Party's Over to learn how to make glitters an ease to remove.

Get Kyle's Sparkly French Look:
1. Start with your perfect nude. See Julep's guide to picking out nude polish.
2. Cover your base with Seche Vite top coat. With this top coat, your nails will be completely dry within a few minutes. Kyle waited about 15 minutes before moving to the next step, just as a precaution.
3. Use scotch tape to create straight lines on the top edge of your toes, as if you were painting a french pedicure.
4. Paint your glitters! With the tape in place, you shouldn't have to worry about any slip-ups. Julep's glitter polishes are some of the best out there! Kyle used her polishes from the Julep Gem Collection: Jasmine, Carly, Oscar, Hilary, and Barbara.
To see more of Julep's gorgeous colors, check out their website!
For more pictures of my nail art, follow me on Instagram: @KyleAnnDunphy
No comments:
Post a Comment